...
Login to Snugg
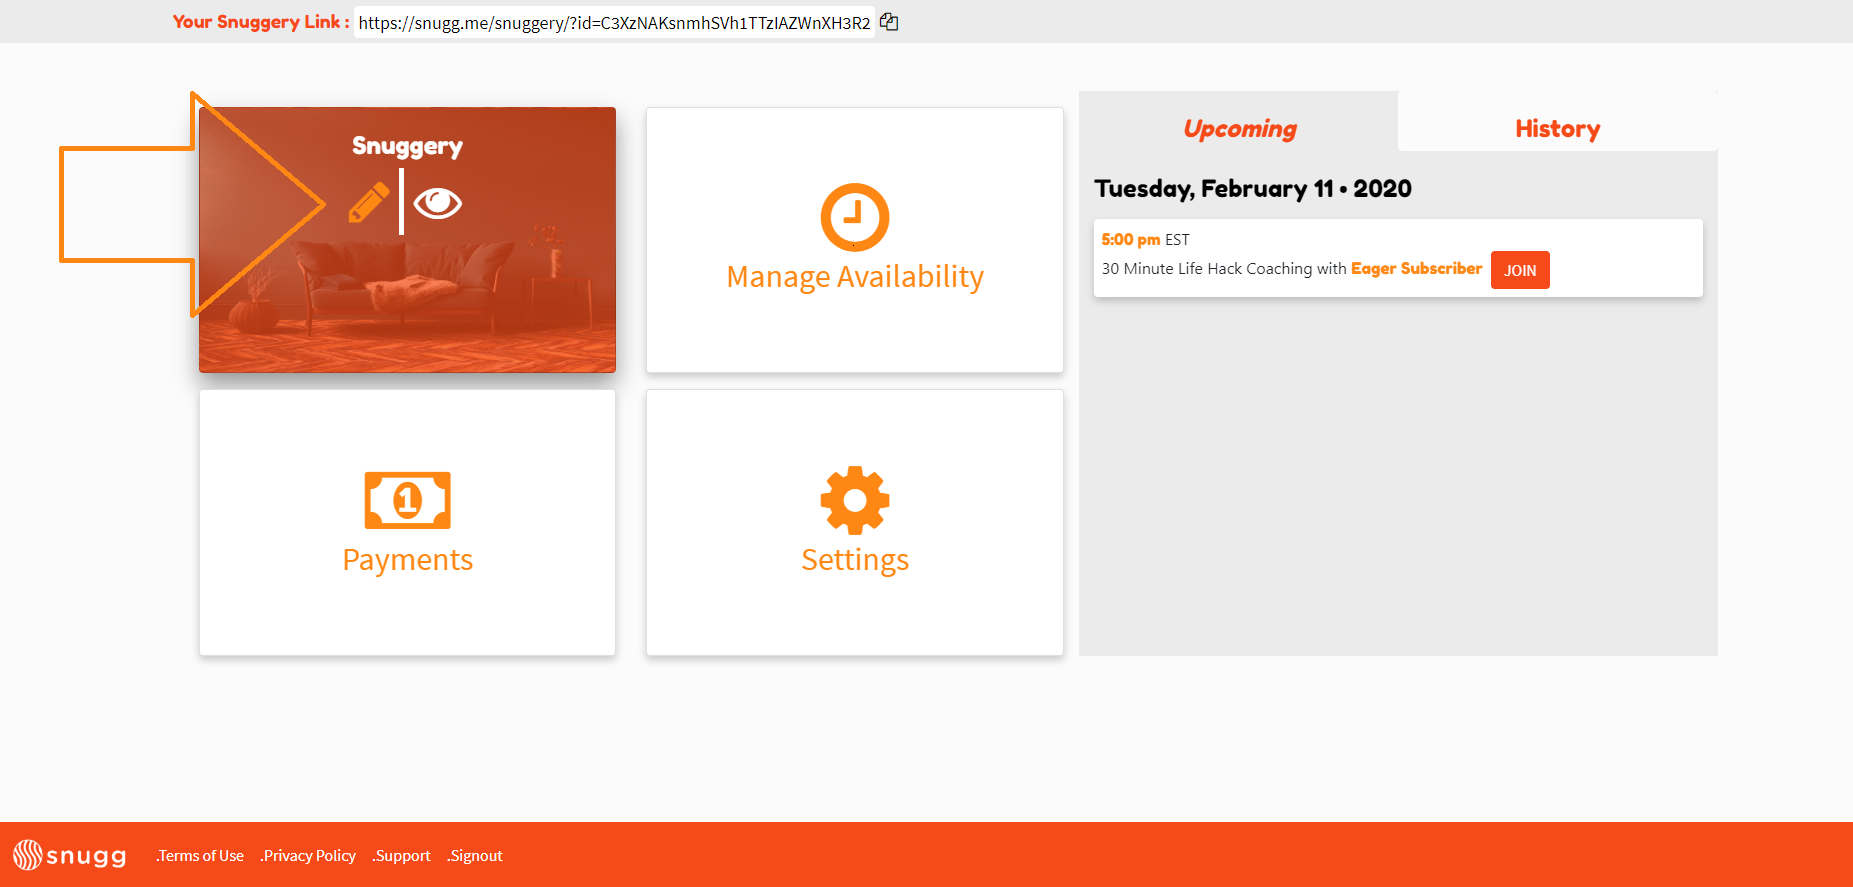
The page will automatically open to your Snuggery.
Select an image, enter your Snuggery’s name and a short description of what you offer. Keep in mind, this is the information your subscribers will see when they click your Snugg link.
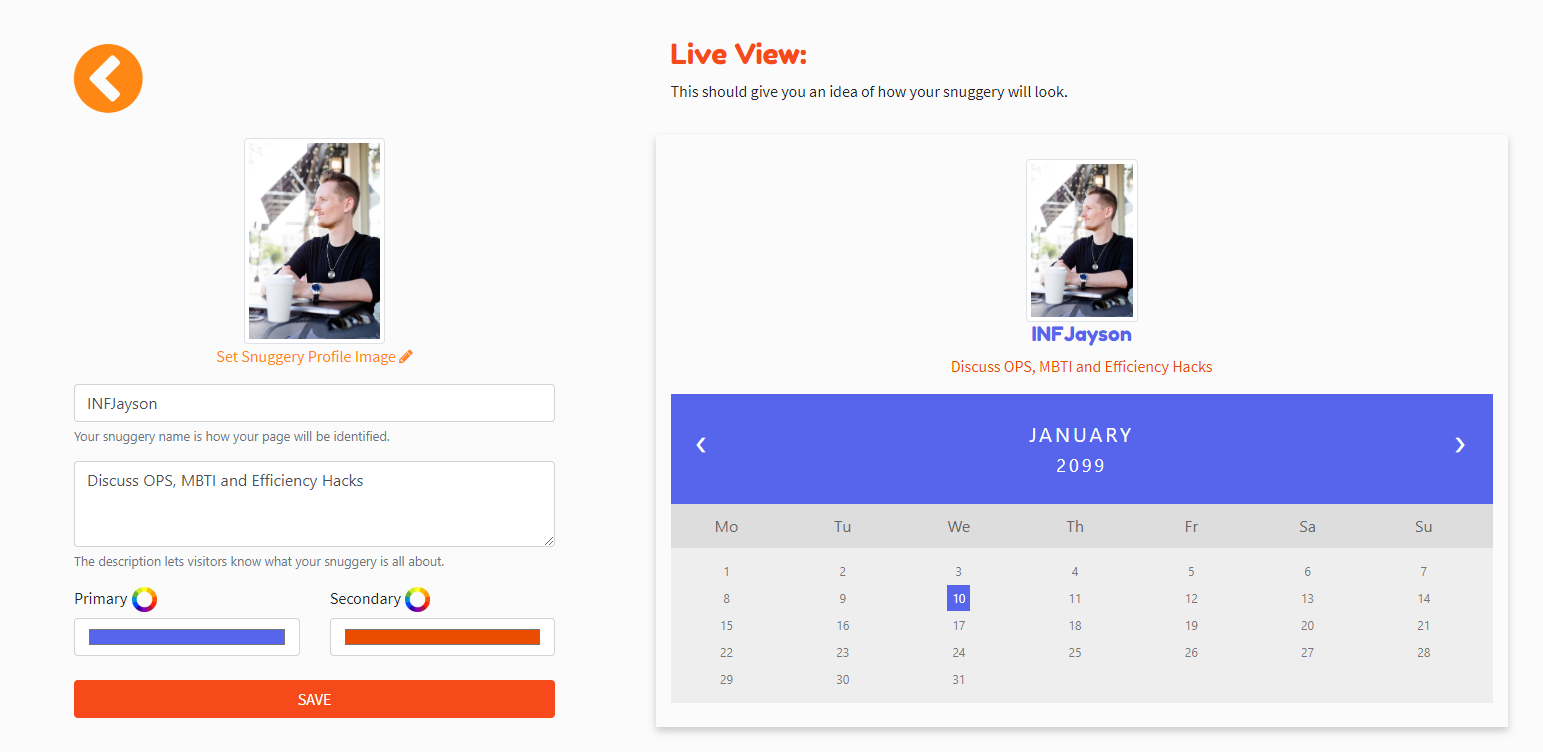
In addition, you can personalize your Snuggery by selecting primary and secondary colors.
Click Save.
If you’d like to go back and edit your Snuggery, log in to Snugg and from the Dashboard hover over “Snuggery” and click the pencil. You can also click the eye to view how your Snuggery looks to others when they click your Snugg link.
That’s it! Your Snuggery is setup! In the future we’ll be adding more customization to the Snuggery and would love to hear your thoughts. Click here to submit a feature request or move to the next step: Creating Session Types.