...
After you’ve been approved, you’re ready to build your Snuggery. Your Snuggery is a personal page you can customize and functions as the front facing profile to people who click your Snugg link. To setup your Snuggery for the first time follow these steps:
Login to Snugg
The page will automatically open to your Snuggery.
Select an image, enter your Snuggery’s name and a short description of what you offer. Keep in mind, this is the information your subscribers will see when they click your Snugg link.
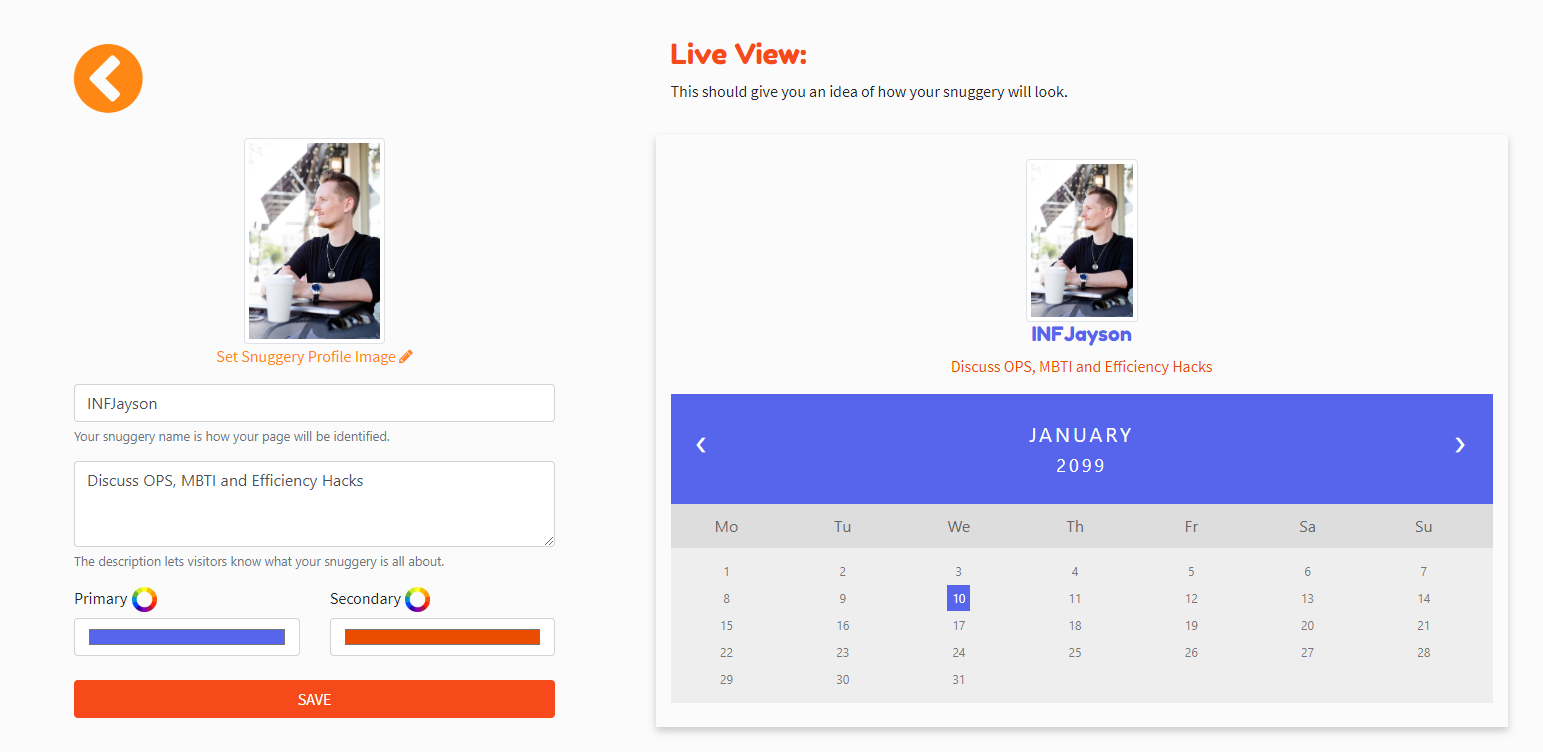
In addition, you can personalize your Snuggery by selecting primary and secondary colors.
Click Save.
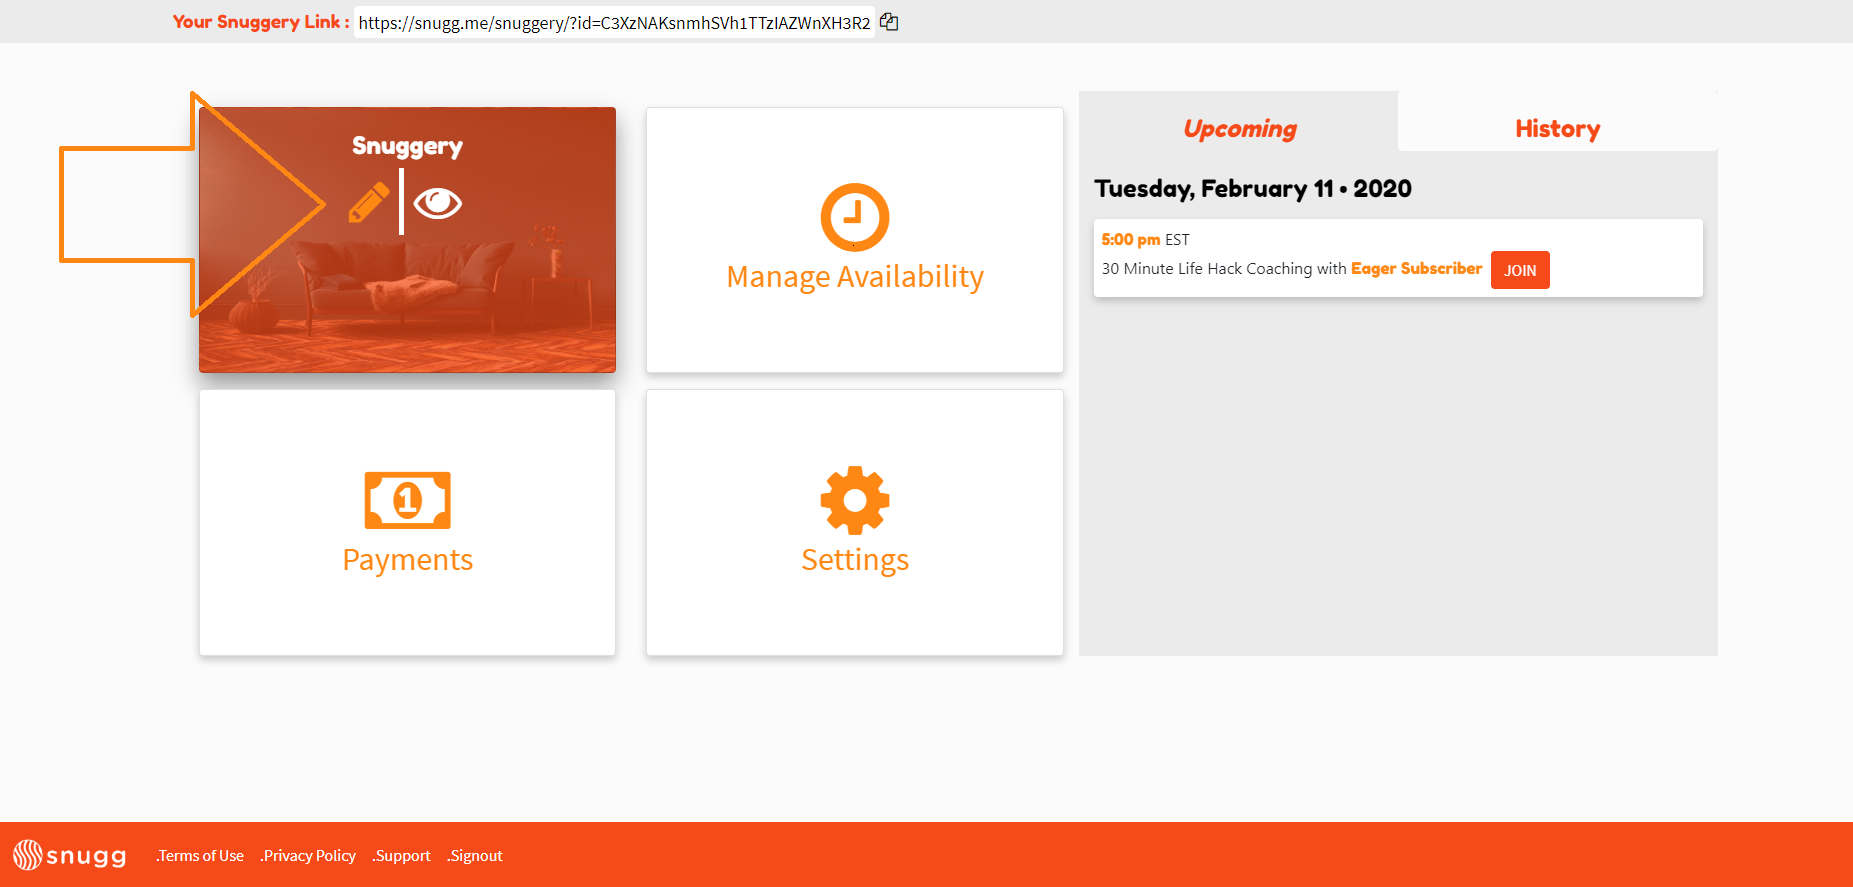
If you’d like to go back and edit your Snuggery, log in to Snugg and from the Dashboard hover over “Snuggery” and click the pencil. You can also click the eye to view how your Snuggery looks to others when they click your Snugg link.
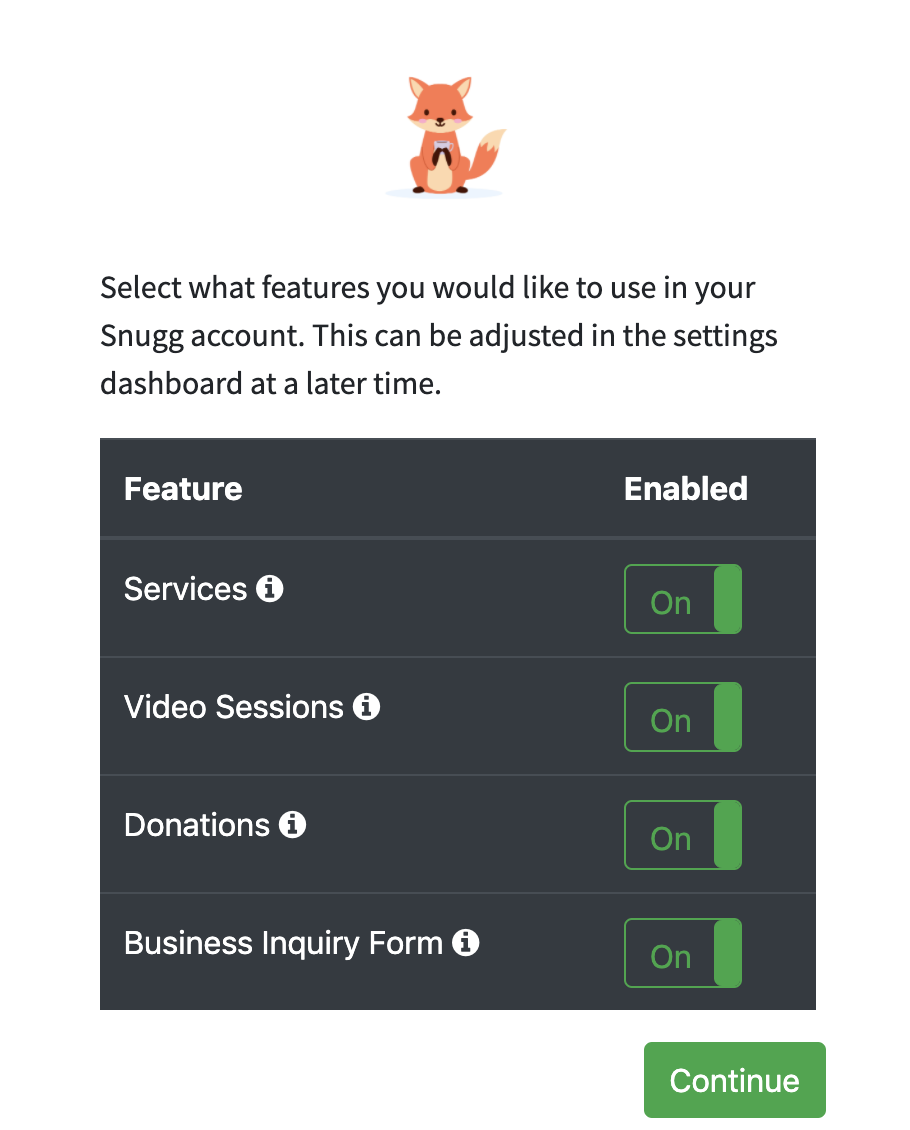
Upon initial login you will be taken through all of the steps for on boarding, starting with the Snuggery. The first thing you will see however is verification on what services within your account you want turned on or off.
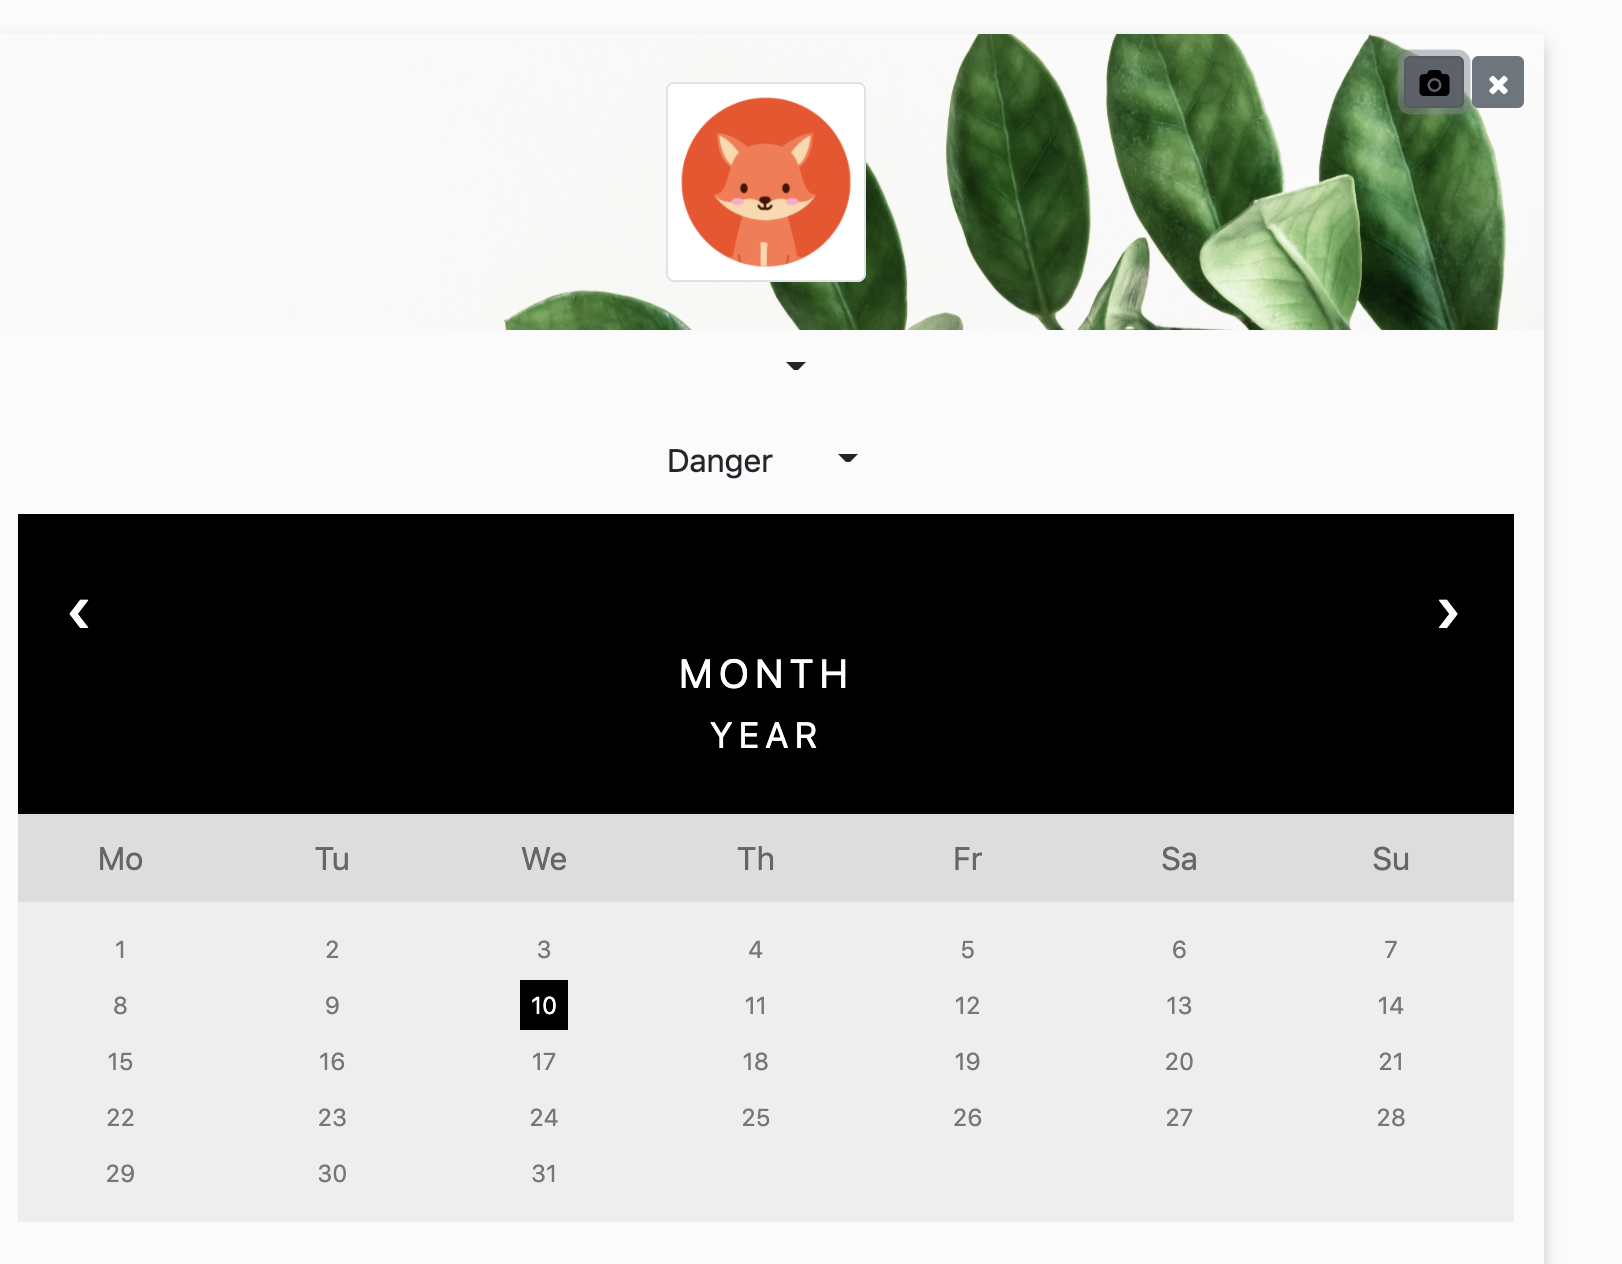
After selecting continue, you will be brought automatically to your Snuggery page where you can customize title, description, your profile picture, colors.
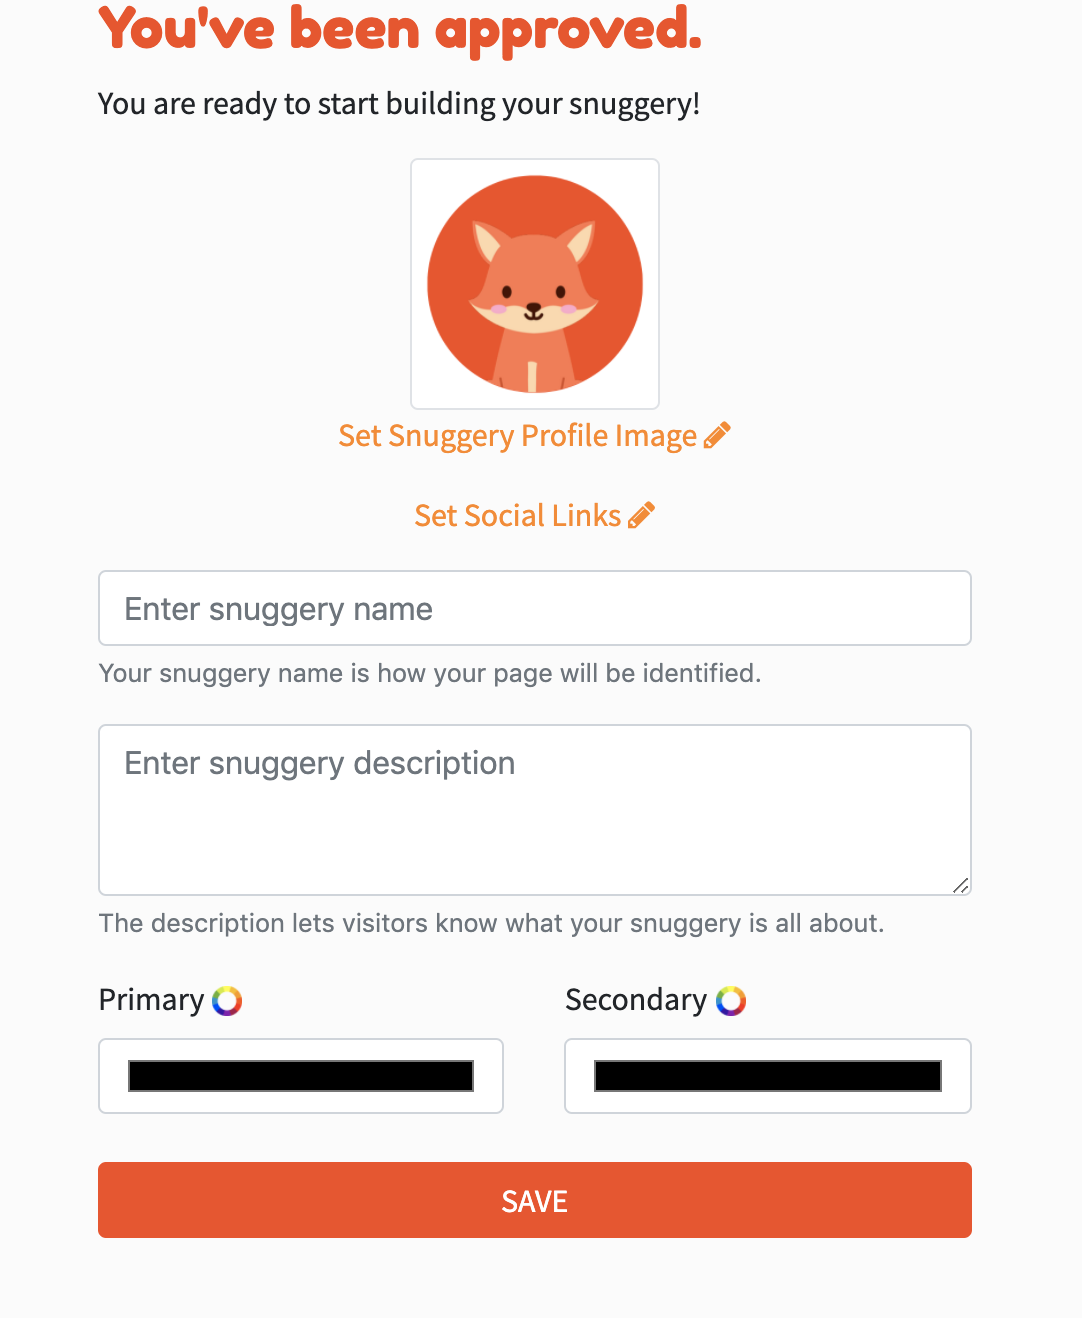
Additionally you will be able to change your banner image by selecting the camera icon and your font choices by selecting the dropdown arrows.
Be sure to save everything!
That’s it! Your Snuggery is setup! In the future we’ll be adding more customization to the Snuggery and would love to hear your thoughts. Click here to submit a feature request or move to the next step: Creating Session Types.